top of page
Getting the tools right is always a good start and don't forget to clean the surface before you apply.

Decide the right position and, secure in place lightly with masking tape while you check.

Once happy with position create a hinge using masking tape along the top of the stencil.

Lift the stencil on the hinge and remove the backing paper carefully.

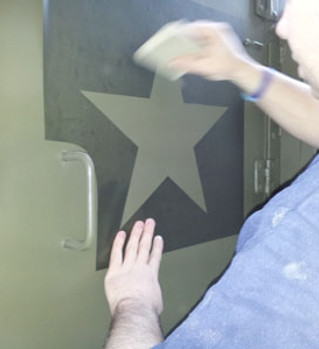
Use a squeegee (or credit card, or smooth surface) to remove any air pockets.

Re smooth if necessary, again using smooth surface.

So finally prep done lets start painting, it may take more than one coat so take your time.

Once dry it's try, but not so dry the stencil is stuck your ready to remove
%20peal%20back%20the.jpg)
Your now finished!

Remember always prep the surface, and make sure its clean.

Measure and position exactly where its needed., some people do use a spirit level to check the position.

It maybe necessary to make adjustments to the stencil to get it to fit your vehicle. Here we have had to cut it to allow for the grab handle.

Once removed carefully smooth down on to the body/surface of the vehicle.

Carefully peel back the application tape from the front of the stencil.
.jpg)
We chose to use a roller rather than spray paint but the choice is yours.

Completely cover the stencil, it might take a few coats.

Gently peel back the stencil from the body.


bottom of page